Lesson #9 DAY 1 PRACTICE Using Gimp and MyApps university server
- Get link
- X
- Other Apps
We used MyApps which is a cloud that is provided by our university URJC. There are many programmes that we can use without installing them on our computer by entering the cloud and using them as remote desktop software that we can make use of from any computer. We also have 10GB storage space to save our university documents and access them remotely.
Using GIMP. What is it?
GIMP is an acronym for GNU Image Manipulation Program. It is a freely distributed program for such tasks as photo retouching, image composition and image authoring.
We had to edit several photos, change the program icon and this is the result:
Photograph #1: We wrote text, moved it, drew with pencil and paintbrush using different widths and textures, changed the colour and added a filter to the background photograph. Finally we changed the format from .xcf (GIMP's automatic format) to .jpeg. Here's the end result.
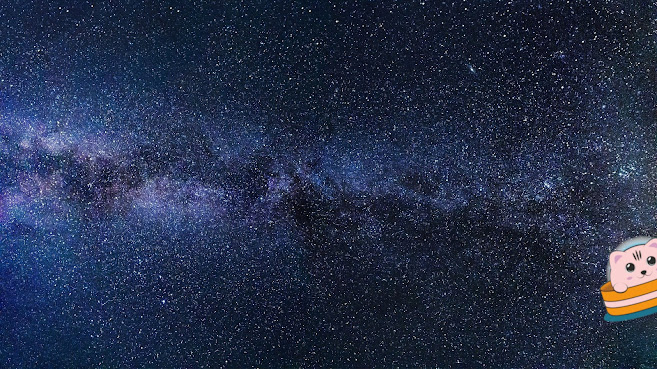
Photograph #2: Task involved selecting part of an image -separating the cat from its initial background-, inverting it so that we get the figure and not the background, copying and pasting it onto another third image. Then we moved the pasted image, changed dimensions and rotated it. This is the outcome. The cat looks as though it is flying away from the frame in a fast trip to outer space to give it a slight comical touch.
Bye for now! See you in space :)
- Get link
- X
- Other Apps


Comments
Post a Comment